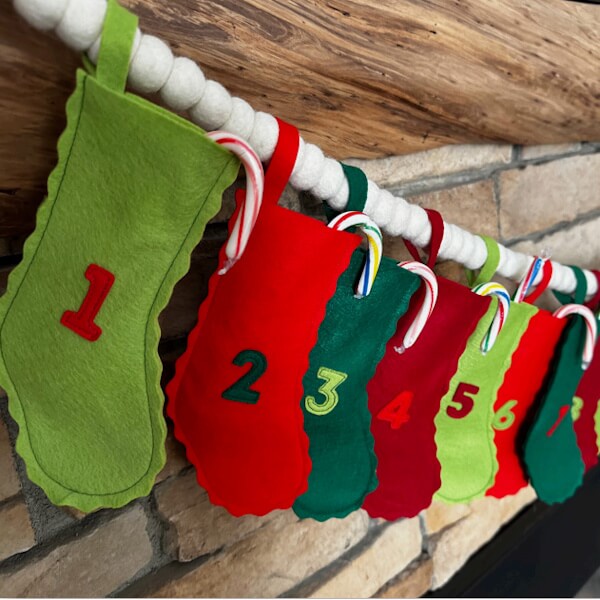
Adventskalender Stockings
Product number:
A-100440
€0.00*
Free shipping
Available, download in your customer account
| Author: | Ellen March, Sulky of America |
|---|---|
| Language: | English, German |
| Occasion: | Christmas |
| Target Groups: | Children, Men, Women |
| Techniques: | Embroidery, ITH Embroidery File, Machine Embroidery |
| Season: | Winter |
| Lizenz: | For private use only |
Product information "Adventskalender Stockings"
Required Material
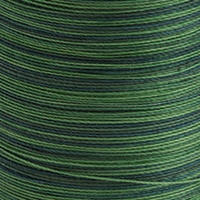
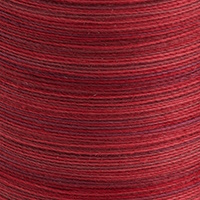
- SULKY® COTTON 30 (Colour 4051 + 4042)
- SULKY® COTTON 50
- SULKY® THERMOFIX
- SILICONE PAPER
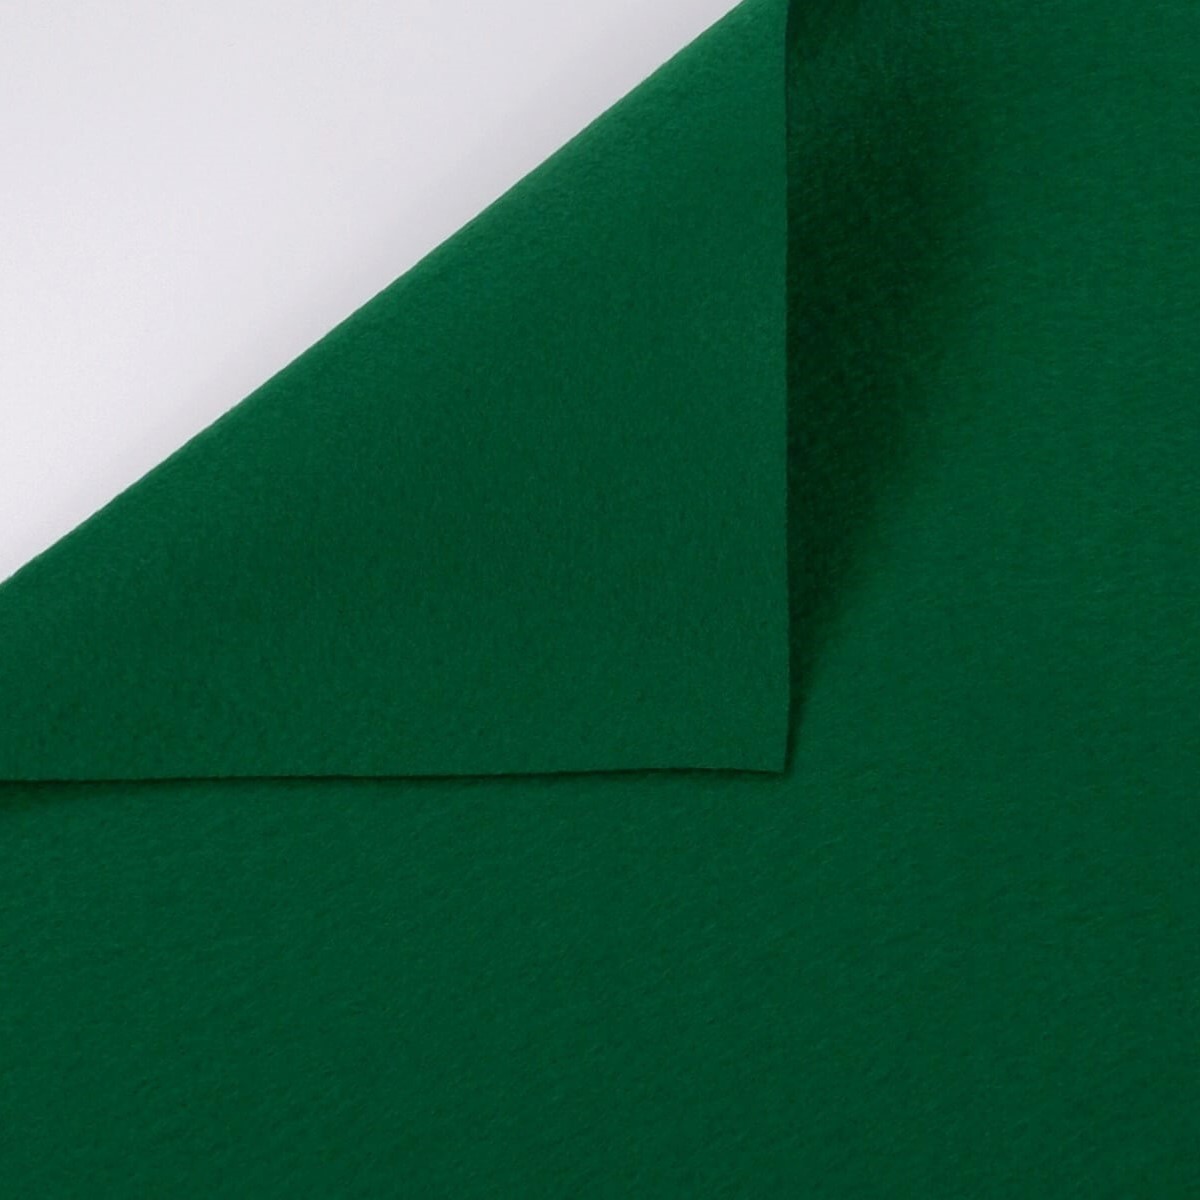
- SULKY® FELTY (Colour green dark green, red, dark red)
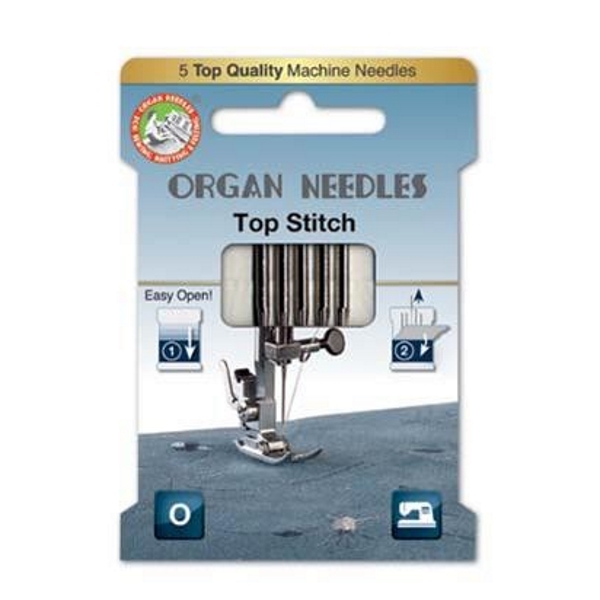
- ORGAN® NEEDLES Top Stitch, Size 90 (Appliqué)
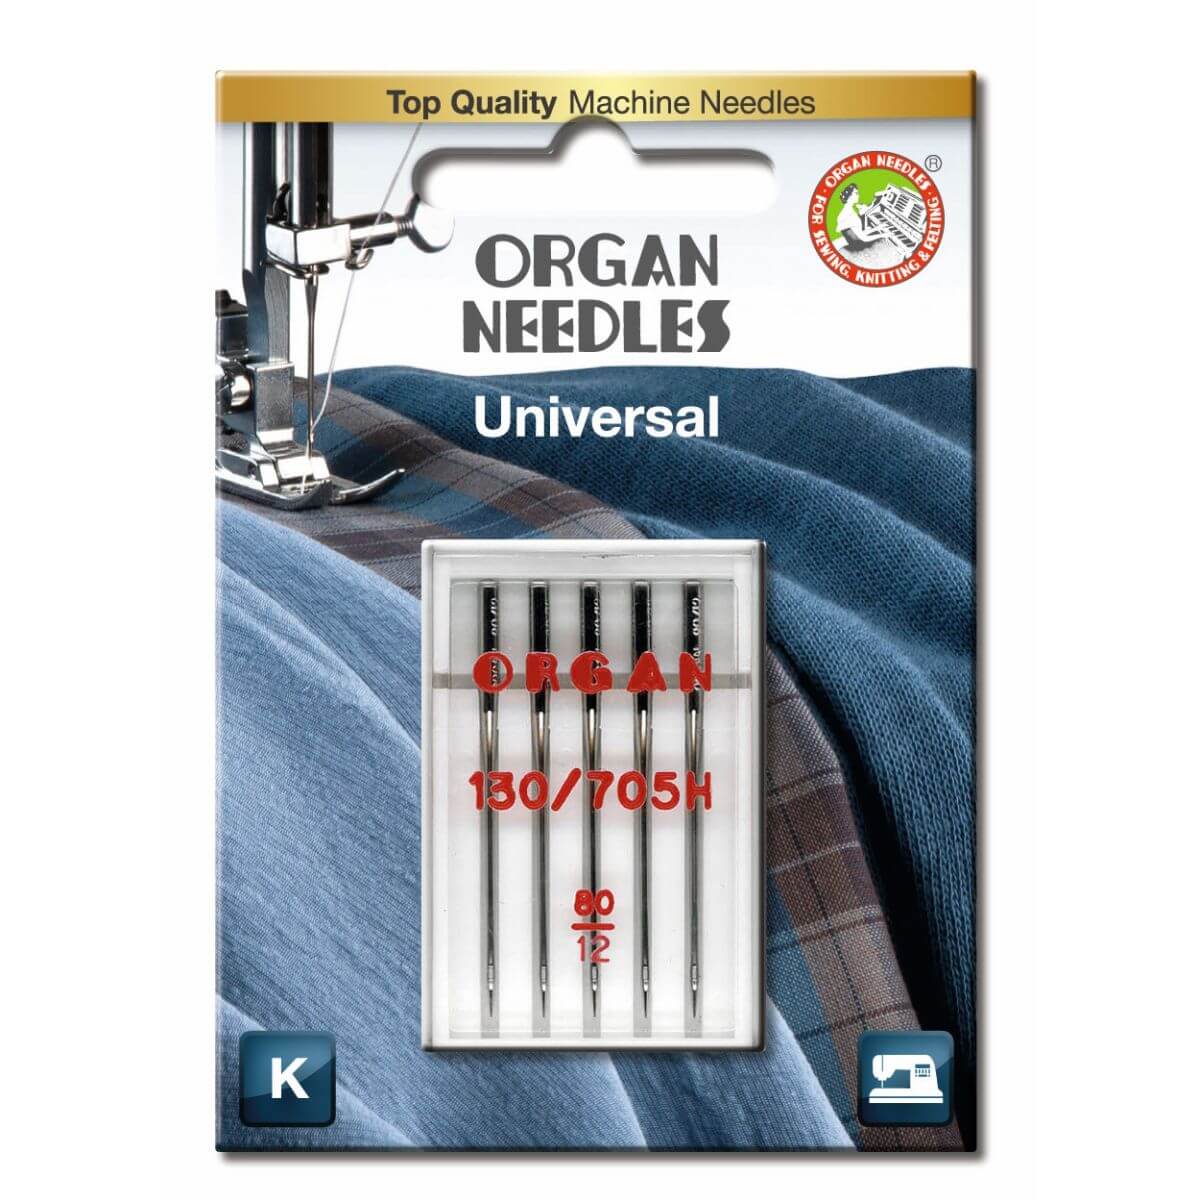
- ORGAN® NEEDLES Universal, Size 80 (Construction)
☞ further required material is listed in the PDF-manual
Excerpt of the steps from the PDF-manual:
Attention: The unit of measurement used for this project is inches!
Finished Size: approx. 7,5" x 3"
Preparation / Cutting
Step 1
From the SULKY® FELTY, cut 25 “front” stockings using the pattern on page 5 and 25 “back” stockings (using the patter mirror image). Cut as many from each Felty color as desired.
…
…
Step 3
Cut out the number templates from page 6., trace the numbers 1-25 onto SULKY® THERMOFIX and cut them out.
Step 4
Iron them onto the back of the corresponding fabric using SILICONE PAPER. Cover everything well with SILICONE PAPER and remove the paper once it has cooled. Cut out the motifs exactly.
…
…
Step 6
Iron them onto the corresponding SULKY® FELTY fabric using SILICONE PAPER. Cover everything well with SILICONE PAPER and remove the paper once it has cooled.
Appliqué
Step 7
Install a ORGAN® NEEDLE TOP STITCH into the machine. Thread the needle with SULKY® COTTON 30 Thread in a color that matches either the red or green appliqués (whichever color you’ll begin stitching). Wind a bobbin with SULKY® COTTON 50 Thread. Set the machine for a straight stitch and stitch just inside of each number
...
...
Construction
Step 10
Pair each appliquéd front stocking with a matching back with wrong sides facing.
Step 11
Stitch one stocking outer edge using a ⅜” seam allowance, leaving the upper edge free.
Step 12
Using pinking shears, wavy blade scissors or straight scissors, trim the seam allowance to ¼”...
Using pinking shears, wavy blade scissors or straight scissors, trim the seam allowance to ¼”...
Now you can hang up your socks where desired and insert a goodie into each.
☞ Detaillierte Anleitungsschritte und Bilder sind in der PDF-Datei zum Downloaden enthalten.Herstellerangaben gemäß GPSR-Anforderungen (General Product Safety Regulation)
Gunold GmbH
Obernburger Str. 125 | 63811 Stockstadt | Germany
E-Mail: service@sulky-shop.de


